


When Little Hands and Feet Lag Behind: Understanding and Supporting Delayed Motor Skills
Watching your child struggle with tasks like threading beads or navigating the playground can be worrisome. Delayed fine and gross motor development may affect everything from writing and dressing to running and climbing – areas essential for school readiness and social play.
What are Delayed Motor Skills?
Fine motor delays involve difficulties with precise, small-muscle tasks such as grasping crayons, buttoning shirts, or cutting with scissors. Gross motor delays, on the other hand, affect larger movements like crawling, walking, jumping, or maintaining balance. Sometimes, these challenges stem from developmental coordination disorders (DCD), marked by poor motor planning and coordination.
Why Early Intervention Matters
The earlier delays are addressed, the better the outcomes. Early intervention in both fine and gross motor development helps children gain confidence, independence, and smoother engagement with daily routines. Without timely support, children might face secondary challenges impacting academic, social, or emotional growth.
How Therapy Helps
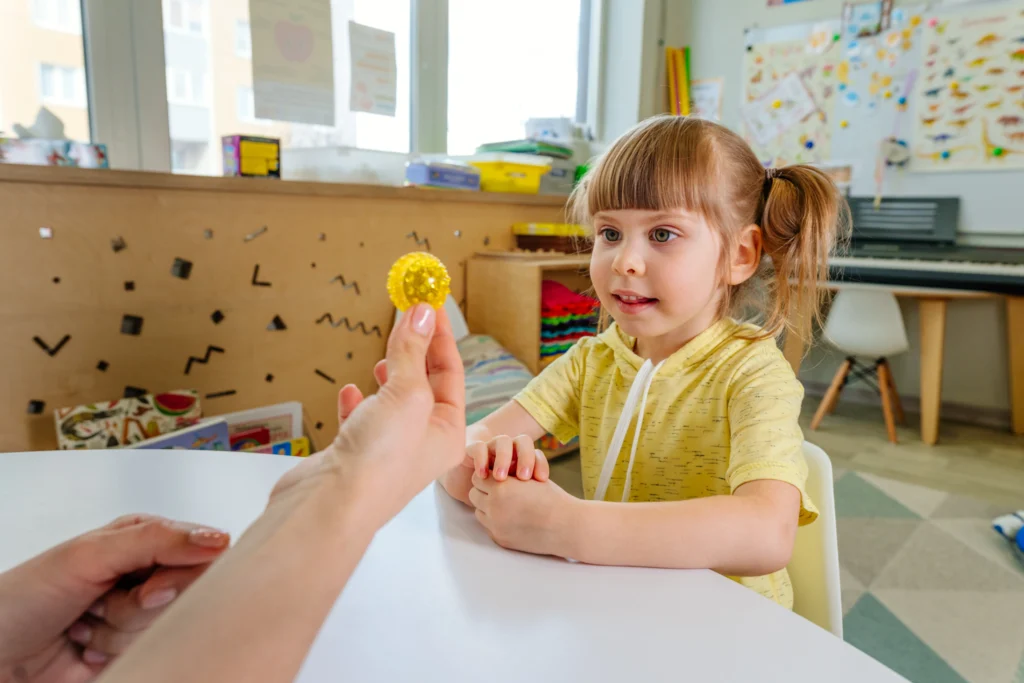
- Fine & Visual Motor Support (Occupational Therapy): Occupational therapists assess each child’s needs and design personalized plans using engaging, play-based activities. These target skills like dexterity, hand-eye coordination, and functional tasks such as writing, self-care, and classroom participation. Interventions often include strengthening exercises (play-dough, tongs, clothespins), precision tasks (stringing beads, puzzles), and adaptive tools (pencil grips, slant boards).
- Gross Motor Support (Physical Therapy): Physical therapists focus on enhancing strength, balance, coordination, and motor planning to support crawling, walking, jumping, and more complex movement sequences. Techniques are often woven into play to keep sessions fun and motivating. A supportive approach can even reduce the risk of injury and build social confidence.

Collaborative & Personalized Approach
Therapists work closely with families and educators to promote carryover. They guide parents with at-home strategies that incorporate fine motor challenges into playtime or encourage gross motor exploration through safe movement opportunities like tummy time, crawling, or obstacle play.
Signs to Watch For
Be attentive if your child shows delays such as:
- Difficulty holding utensils, crayons, or manipulating small objects (fine motor)
- Trouble crawling, frequent tripping, or delayed walking (gross motor)
- Avoidance of age-appropriate tasks like dressing, playing on playgrounds, or participating in arts and crafts.
Take Action Today
If your child exhibits delays in fine or gross motor skills, remember: you don’t have to wait. Early intervention is a powerful tool. Through coordinated, fun, and individualized therapy, many children not only catch up, they thrive.
Helping Kids Transition to a New School Year
The start of a new school year brings big changes—new teachers, new classrooms, and new routines. For many families, one of the hardest parts is figuring out how much to share about a child’s history, strengths, and challenges. Some parents choose to say very little, hoping for a “fresh start.” Others provide detailed background information, but worry that it may unintentionally shape how the teacher views their child. Both approaches can feel tricky.
One creative strategy we love is the idea of writing an “Instruction Manual” for the teacher each year. This is a short letter written from the child’s perspective that provides helpful insights in a positive, strengths-based way. We’ve seen versions that include statements such as:
- “When I am overwhelmed, it might look like I’m disinterested, but really I’m shutting down. A quiet check-in helps me get back on track.”
- “My writing can be messy, but a little checklist reminds me to slow down and make it legible.”
- “Sometimes I get stuck starting big tasks. A quick brainstorm with me helps me know where to begin.”
- “I might appear fidgety since I move a lot, but really my trunk muscles are getting tired. I do better if I can change positions—like working on my tummy on the floor or standing at the wall with paper taped up.”
- “Sometimes I overreact when I make a mistake. It helps me if someone can guide me in figuring out whether it was a ‘big deal’ or a ‘little deal.’”
This type of letter empowers children, gives teachers helpful insight, and frames information in a way that supports success without labeling or limiting.

Tips for Parents on Creating an Instruction Manual
- Write it together: Involve your child so their voice comes through. Younger children may need more help, but older kids can draft or dictate their own ideas.
- Keep it short and specific: Aim for 3–5 key points. Too much detail can be overwhelming.
- Balance challenges with strengths: Share what works well, not just what’s hard. For example, “I get stuck starting tasks, but I do better if someone helps me make a list.”
- Use child-friendly language: Simple, direct statements make it easier for the teacher to understand and remember.
- Keep it positive: Frame strategies as tools for success rather than limitations.
Even a one-page “Instruction Manual” can go a long way toward helping teachers understand and support children from day one.
Upcoming Free Events from the International Spy Museum
We’re excited to share two opportunities from the International Spy Museum designed specifically for the neurodivergent community. These programs provide a welcoming and sensory-friendly environment, making it easier for participants to explore and enjoy everything the museum has to offer. Both events are free with registration required.
Access to SPY: An Evening for Neurodivergent Adults: October 19, 2025 | 5:00–8:30 PM
This evening program is tailored for neurodivergent adults, offering an inclusive and supportive space to experience the museum after hours.
Access to SPY: A Morning for the Neurodivergent Community: December 7, 2025 | 8:00–10:00 AM
A special morning designed for neurodivergent individuals and families to enjoy the museum with smaller crowds and a more relaxed environment.
Meet Our Team


Recipe of the Month: Peanut Butter Spider Cookies
A spooky-sweet Halloween treat that’s as fun to make as it is to eat! These cookies start with soft peanut butter bases and get topped with chocolate “spiders” made from peanut butter cups or truffles. Kids will love helping with the decorating—especially adding the candy eyes!

Ingredients:
- ½ cup shortening
- ½ cup peanut butter
- ½ cup packed brown sugar
- ½ cup white sugar
- 1 large egg, beaten
- 2 tablespoons milk
- 1 teaspoon vanilla extract
- 1 ¾ cups all-purpose flour
- 1 teaspoon baking soda
- ½ teaspoon salt
- ¼ cup white sugar for rolling
- 24 chocolate candy spheres with smooth chocolate filling (such as Lindt Lindor Truffles), refrigerated until cold
- 48 decorative candy eyeballs
- ½ cup prepared chocolate frosting
Instructions:
- Preheat the oven to 375 degrees F (190 degrees C). Line baking sheets with baking parchment.
- Beat shortening, peanut butter, brown sugar, and 1/2 cup white sugar together with an electric mixer in a large bowl until smooth. Beat egg into the creamy mixture until fully incorporated. Stir milk and vanilla extract into the mixture until smooth.
- Mix flour, baking soda, and salt together in a small bowl; add to peanut butter mixture in the large bowl and stir until completely incorporated into a dough. Divide and shape dough into 48 balls.
- Spread 1/4 cup white sugar into a wide, shallow bowl. Roll dough balls in sugar to coat and arrange about 2 inches apart onto prepared baking sheets.
- Bake in preheated oven until golden brown, 10 to 12 minutes. Remove cookies from oven and quickly press a dimple into the middle of each cookie using the blunt end of a wooden spoon. Cool cookies on sheets for 10 minutes before transferring to a wire cooling rack to cool completely.
- Cut each chocolate sphere into two hemispheres. Put one piece atop each cookie with the rounded side facing upwards.
- Spoon frosting into a pastry bag with a small round tip or a plastic freezer bag with one end snipped off. Dab a small amount of frosting onto the back of each candy eyeball and stick two onto each chocolate candy to resemble eyes. Then pipe frosting in four thin lines, starting at the base of the candy, on each side atop the cookie to resemble spider legs.
- Let frosting harden at room temperature, about 30 minutes. Store cookies in an airtight container.
Recent Newsletters


You have more options than ever for empowering your child. Subscribe today for free healthy tips and exclusive offers twice a month!